
As mentioned in the last post, 5 MINUTES AGO! I have actually made some headway. OK, a lot! Its half past midnight and only blood loss from my scalpel antics has stopped me from continuing.
So yeah! I managed to construct 1 of the 4 sections that you get.
Heres the link: http://www.lasercutcard.co.za/fortifications/cyborg-defense-line
So I got these a while back and as mentioned before, I'm saving for a wedding... so yeah. Painting things I have. Its cheaper.

The package, which turned up with a little hand written thank you (Can't stress how the little things get me through the day). The whole pack managed to fit in a rather unassumbing letter and I admit, being wary about the stability of using card here was me thinking "It fits in a letter..."
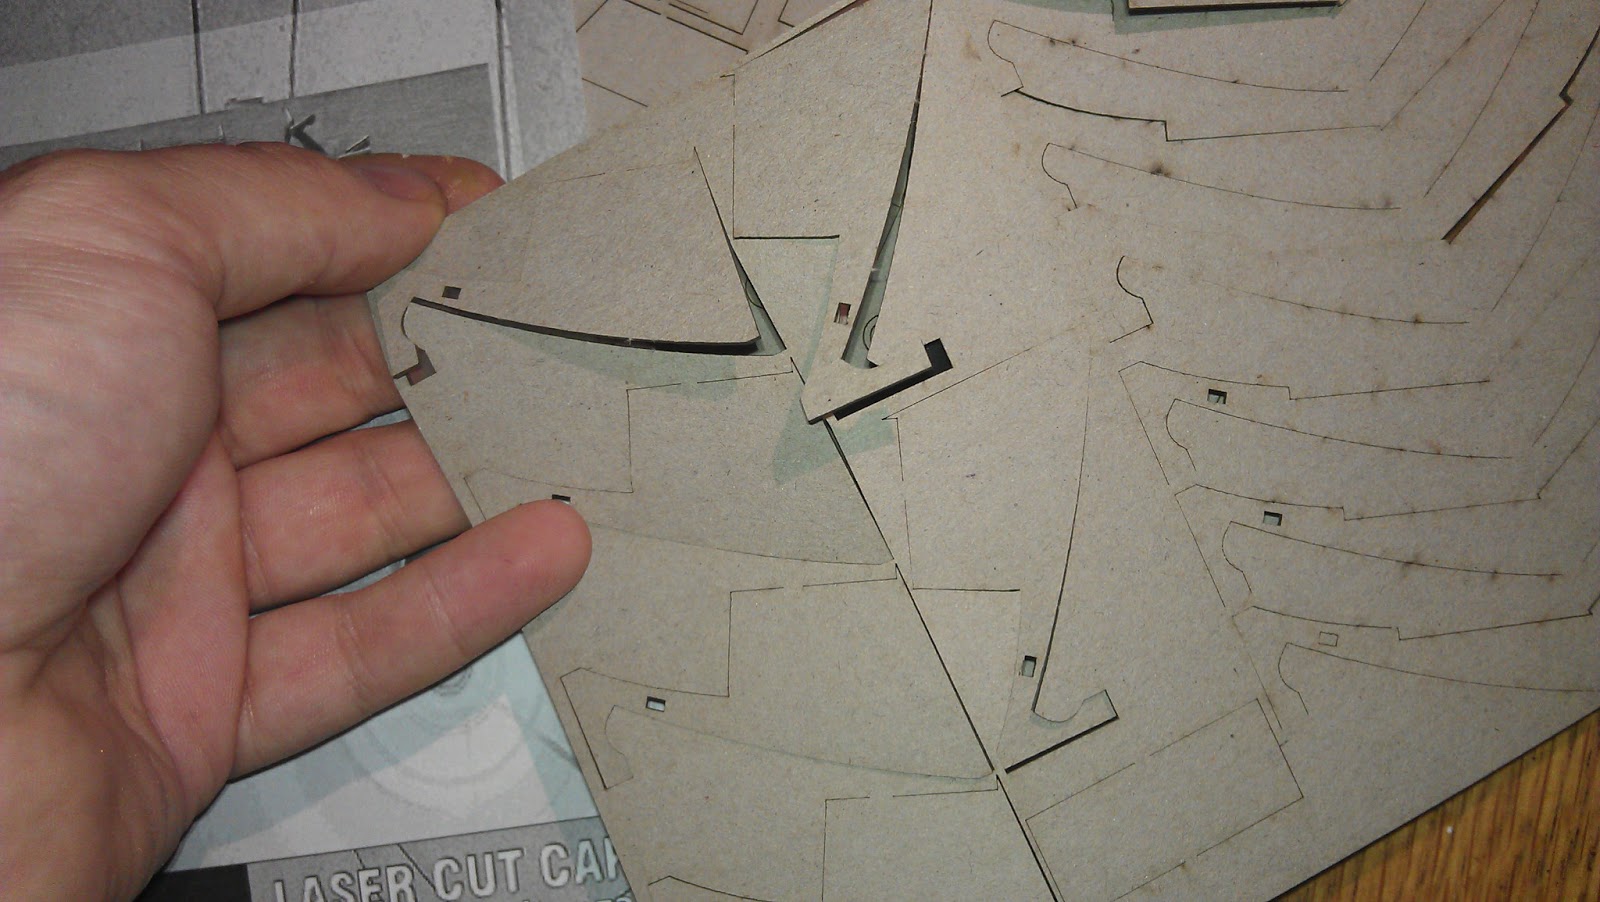
Anyway as you can see, you get four repeats of 2 differing umm, card sprue? Not sure what to call them. Lets say sprue, we're used to that.
 |
| Everything I need. Now to get off the table. |

The instructions were provided in the pack as a little slip with a URL on it, linking to the online instructions page on their website. Not got the internet? How did you order them in the first place? O_O
Take a look see! Instructions.
As you can tell from the first few seconds, the guy knows his stuff. Easy instructions make what could be difficult techniques, like using super glue on the edges while holding pieces together, easy to learn. The design of these things is minimalist, no waste, and makes good use of layering up the card to create stable and tough pieces of scenery that are surprisingly detailed.


 |
| Each edge is made up of 3 card pieces layered up. |
Each piece is designed simply and contains all the guidelines, grooves and doohickes that make it easy to slap together in a hurry. See how the superglue is applied from the outside edges? With card being porus as in spongy, it literally soaks up the superglue into the join. Damn effective, so be sure the join is perfect before application. Also, try not to get super glue vapors in your eye. It hurts.


 |
| Figure shown because every time I tried to pick him up he bit me. |
Now I've constructed 1 sections worth. 3 More to go. I'm learning how to speed up construction after the initial slow once over. Made 1 mistake, that's what I got for not looking at the instructions properly. For the price you actually get loads. I can't stress how much I am surprised and delighted with this set.
When I manage to find time tomorrow, I'm gonna get the other 3 sets done and sort the basing issue out. They're tough things, but I am a titanic clutz when it comes to dropping things. Plus it means I get to layer them up with wall filler and make them appear as if they are rising from the ground. Necron stuff does that you know. :D
Planning on using the spray too, as the happy accidental concrete texture it produces on the card is really easy to work with. Plus, those spots where I used a little too much superglue don't like some paints going directly on them.
Anyway, that's me for now. Sleeps to have. Got a 1000pt force to take to a Apoc game at the local GW here in Oslo. No idea what I'm using. Probably something bone coloured.
Natta!
R
No comments:
Post a Comment