
A good friend and crazy Necron collector Paul Bullock recently posted on Facebook a series of steps detailing how someone could paint his Necron Dynasty colours: The dreaded Si'Moog'Sit-Let Dynasty.
With Apocalypse becoming more or less the norm, it seems to becoming a thing to copy someone else's colour scheme, at least being inspired by it. Especially when you happen to play together. Though Paul doesn't need much help, owning arguably the largest collection of Necrons in the world.

Warrior tutorial step 1
Spray them black, then with a large dry brush slap on claggy Leadbelcher. By claggy I mean a slightly wetter dry brush. They should then look like this. This is the first of 3 quick easy steps on the sliver parts before we add colour.

Warrior tutorial step 2
Drybrush the whole lot with Army Painter Plate Metal or GW Runefang. In pic 2 the warrior on the left has not yet been done. At this stage it's hard to discern but when the washes are added it makes all the difference


Warrior tutorial step 3
Paint the guns with a 50/50 mix of black and Ledbelcher. This makes all the difference.

On the left here is a finished warrior from my Dynasty so you can see what we are working towards.

Warrior tutorial step 4
Wash the whole mini with Army Painter Dark tone or Nuln Oil. Pic one shows the difference.

The ones on the left here have been washed.

Warrior Tutorial step 5
Light drybrush just the edges with Army Painter Plate Metal or GW Runefang.

The Necrodermis is now complete and it's time for the colours

Warrior tutorial step 6
Pick out the power cells and the weapon cable in GW Moot Green


Warrior tutorial step 7
Edge highlight just the front facing upper edges of the weapons and the warriors collar bones. The green should now be dry enough for the next step.


Warrior tutorial step 8
Wash green parts with GW Biel Tan, then re-wash just the upper green section with reduced biel tan or thraka green. (Thicker so it resists gravity)


Warrior tutorial step 9
Using GW moot re paint the upper green surfaces in prep for a flick highlight and glaze

Warrior tutorial step 10
Add a white flick highlight to the cables then glaze all the green and white with GW lamenters yellow. This brings the weapons to life


Warrior tutorial step 11
Using thinned down colour paint the first layer on the shoulder blades using a basecoat brush
Warrior tutorial step 12
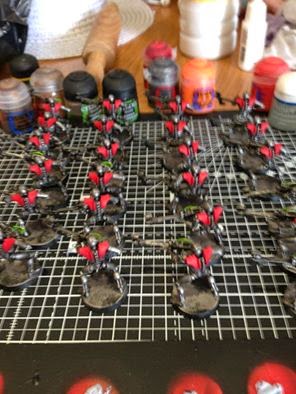
Well that took ages! But I have now applied 3 very thin coats of Mephiston red to all the shoulders..... Now for the heads!

Warrior tutorial step 13
Apply 2 thin coats to the face plates. The block colour is now done. Time to move onto the washes and edge highlights.

Warrior tutorial step 14
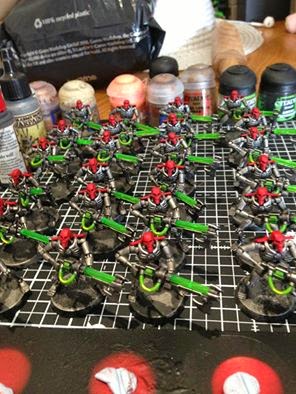
Add the green rods. It's important to do this now before we add the edge highlights. You don't want to be man handling the model to add the rods after the edge work.

Warrior tutorial step 15
Wash the colour in this case Mephiston red with Agrax Earthshade. If washed from the lower jaw upwards to the back of the head it brings all the facial features to life.

Warrior tutorial step 16,
First edge highlight with wild rider red.

Warrior tutorial final step!
Second edge highlight of fire dragon bright and paint in the eyes with moot green!

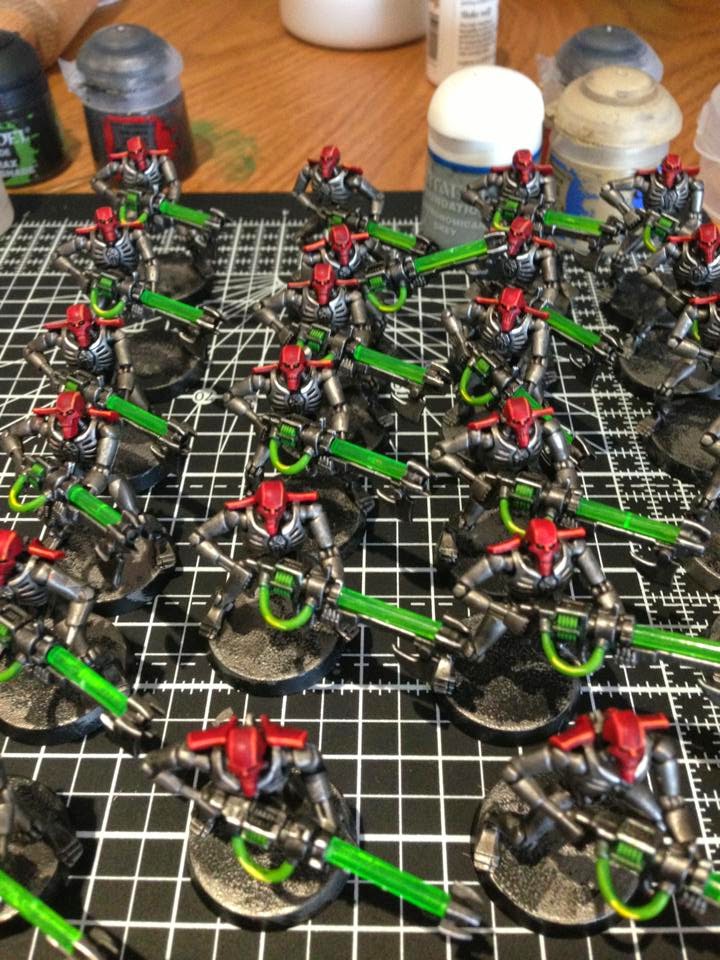
Warrior Phalanx 4 powered up and combat ready.
Now I just need to base them.
