
Originally this was discussed on the Facebook Necrons page (hi guys!) I decided to share my findings and experience dealing with this UK based company. Because lets be honest, there are sadly a few companies out there which waste our time or worse, steal our money. Not many by far, but enough to check before buying.
So. I ordered the following:

This ironically, with international posting came to under 40 GBP. As you can expect, I was damn happy with that price. Especially for what I got!
What and where are these things then?
Ttcombat first came to my attention on their evilbay store, and then on their website, which appeared on the afore mentioned Facebook page. They are a small company and began selling their products to further their primary goal of being a base for "news and reviews."Obviously, they were a victim of their own success and having discovered a demand, went nuts. Seriously, they have some amazing ideas.
The products arrived with signed tracked deliveries within the expected 2 weeks. Everything was well protected and even the torn cellophane on one had been packed in a box with plastic wotsits. Someone had gone to lengths to make sure I got my stuff safely.
Their products are made in 3mm MDF (Medium Density Fibreboard) and come in the form of plates which have had key segments laser cut to a point where you can punch out components. These components are often detailed with laser burns that cut through half way, creating a variety of patterns.
Now I've acquired these for the last battle for our local narrative campaign "A Prison For Gods" as it reaches its climax at the end of this May. How these scenery elements work for that game? I am not telling you. Like the players, you gonna have to wait, son!
Assembly.
Firstly, I want to talk about the little extras. Like the old action figures of the 80's these sets come with these interesting little wall sections. Much sturdier than card, they make for an interesting incentive to get more terrain just to have enough for an Aegis line. They certainly arn't intricate in their design though, and the back is completely bare. |
| This made me sad... |
The construction is robust, as mentioned before, layering up the core of the build to double thickness while using the opportunity to create depth on the figure. The sides slot on like jigsaw pieces and the whole construciton can be glued together with PVA (Woodglue, recommended adhesive) in a matter of minutes. Note these things do not come with bases. Not that they would need them, I'm just a bit OCD about my bases is all...


Now I didn't do these walls first, something I should have done in hindsight as to get use to the process of handling MDF, luckily this isn't my first rodeo, but for anyone unused to assembling laser cut MDF, mess around with things like these first and work out those oversights and mistakes.
The Cyber Bunker.
Straight in with the big one. This central piece was based around a standard criss crossed structure which slots together without need for trimming. Intrestingly enough I was expecting to need to cut out the bits from the sprue with a scalpal but they just popped out and required next to no cutting bar a tiny 1mm connecting point here and there. Which to be fair, didnt need to be tidied up. You can really be lazy with this kit. And I can be damn lazy.

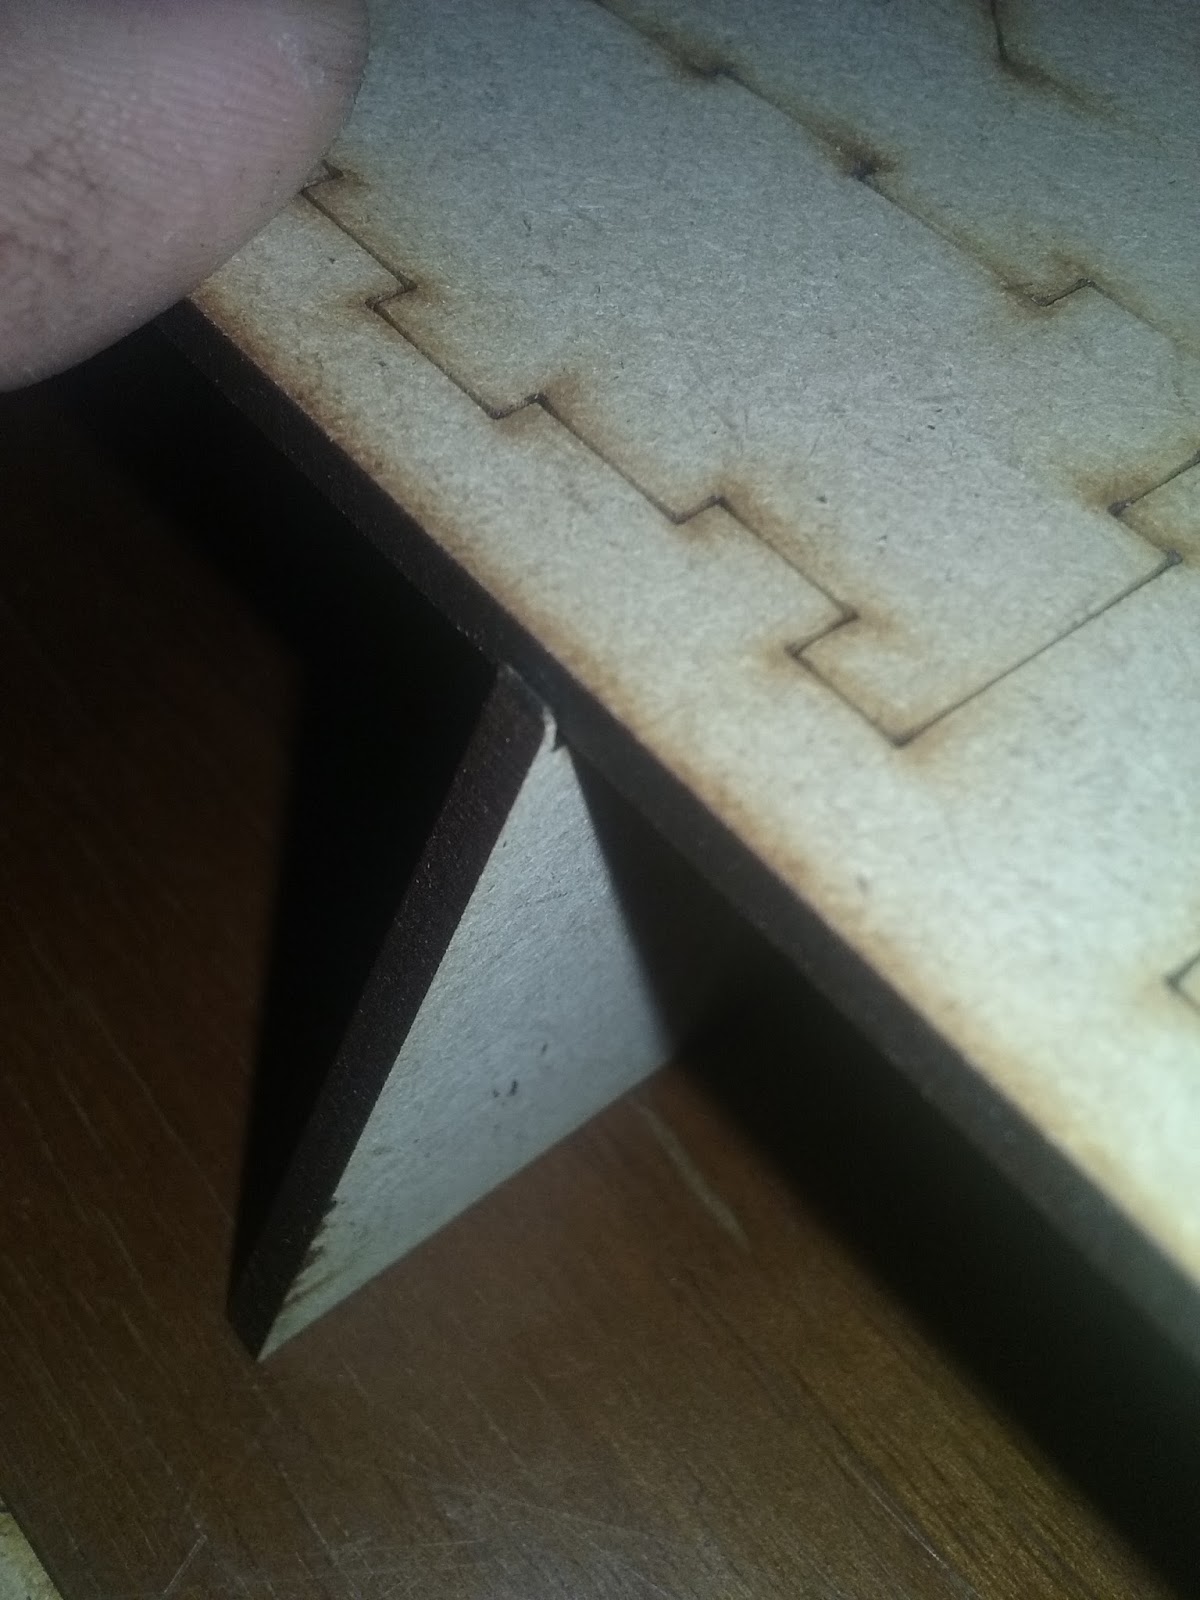
Now I began to worry at this point that the main roof section might be a bit, fiddly to place correctly, but huzzaa! the ttcombat team thought ahead. The criss crossing bits came with a lip, designed to help the roof settle in place and creating a very solid structure to work from. Such a simple design addition allowed me to thankfully avoid the danse of drying PVA glue while I tried to make sure everything was flush and perfect!
 |
| Seriously. Yes! |
Consulting the instructions, I ploughed ahead (total assembly time so far: 20 mins), assembling the sides, which come in to doubles, one pair possessing a couple of mm extra to overlap on the corners. They essentially sit on the slopping struts without much ceremony. Thanks to the stable base, went on near completely flush.


Now the base was complete, with all that burned in detail it really was taking shape, but it seriously lacked detail that popped. Thankfully, and apologies for the lack of photo at this stage, each level has a number of "fins" that slot straight into the hole pictured above, really echoing the older Necron Monolith design.
 The second level had the same construction as the first, criss crossing struts and the detailed fins along the sides. This time however the roof contained slots for the addition of four hooked details that again was very reminiscent of the Monolith and the more recent Ghost Arks prow. These details were doubled up to 6mm in width and I doubt could easily be snapped! Though it did sacrifice the more angled finish of the plastic.
It was at this point I dove into doing the steps. You get four sets in total, although the website only shows two. This gives some interesting options. For me, I planned on two on either end, allowing for some excellent king of the hill like opportunities. The steps were simple affairs, four steps slotting in without room for confusion. Sadly, the pieces are without decoration, but are very tough.

Both levels, have one of these details, constructed from a circle and four "petals" forming a slot which, you will never guess, fits the Monolith Crystal almost perfectly. This indicates to me though that the designers wanted to allow us to vary the construciton somewhat, having the first level and the second level seperate buildings whenever we felt like. For me though, I wanted a tough piece of terrain, so I would be gluing on the second level.

Adding the steps and them slapping the lot onto a base, voila. Total construction time, 30 minutes, mostly waiting for the glue to dry. This set is perfect for emergency builds. Not too sure on the painting yet, but I plan on building up the sides with wood or wall filler to show it being partly emerging from the earth, old school necron style!
The Cyber Tower
The next kit was much smaller, and I was interested to find out how ttcombat would go about a detailed box build. Usually, attaching the top layers can be a nightmare of symmatry and basically getting stuff in the right place.

As before, the sprue was well cut, pieces could be popped out with no risk of damage. I neatened the little tab that remained just in case with a sharp scalpel. Actually managed to NOT cut the crap out of my thumb this time...

The initial box was a jigsaw build, as you can tell it was very sturdy and everything slotted on during the dry build without errors or issues.

Now the interesting part. The outer layers were attached on the edges: two matching jigsaw parths that when aligned against the corner ensured correct and symmetrical placement. I had a bit of an accident with one piece that was troublesome, but nothing worth going into.

Total build time: 15 minutes.
Though the final touch was the centre circle component, which had to be set in by eye. I thought I'd done a good job but the next morning I noted that one had drooped during the night. Damn. Still, lesson learned. Patience and letting it dry on its side would have helped there.
A really simple kit which on thinking about it, would have looked nice ontop of the Cyber Bunker! Very reminicient of the Dawn of War Necron buildings.
The Cyber Defence Platform.
Then came the one which everyone seemed interested in. The Cyber Defence Platform. This one promised to be more complecated then the other two by virtue of being more detailed.
As usual, I popped out the bits, which were mainly repeating braces for the feet sections and the big cresent arm making up the gun.

The instructions for this degraded in clarity as I went along, sadly by the end I was comparing before and after pics to figure out what had gone where in each picture. At this point though, it was hitting midnight and my light was getting worse. Sadly my Samsung Core didnt really have the pull to do the figure justice.

The model was made up mostly of the layered up feet and carriage which thanks to interweaving braces proved to be very tough. The carriage itself was one layer 3mm thick and does bend when pressed on.
The carriage had an interesting circle swivel join which in the instructions said "don't glue", however I couldn't figure out how this benefited the model at that time. In hindsight, I think the plate which sits on top of the carriage wasn't meant to me glued with, so the weapon could feasibly turn in place. Again, the instructions could do with a slight go over to make this clearer.
Despite this, the kit was easily to assemble and I had it up in around 30 minutes. The weapon comes with two forms of vanes but to be honest the alternative set just couldn't compete.
 |
| Mini Cthulu for Scale purposes only. |
I mentioned briefly before the issues with the instructions for this piece, this was especially true of the weapon barrel, which turned out to be far more complicated than expected. It felt poorly explained, measured and in the end I gave up in favour of something more appealing from my bits box: A Necron Doomsday gun!! Just needed a touch of bits to fill in holes and boom.
My penchant for bases demand I cut some up and glue it down, but I decided to keep the gun itself loose as to pack it away easiler. Currently looking into magnets as an option but basically the whole thing is practically snap fit.
Use in games?
The Cyber Bunker is essentially a hill. Great for blocking line of sight. In more narrative games, this could include non deep-striking rules for the top, maybe something borrowing the Monoliths Eternity Gate? Or even using the Forgeworld Tomb rules? For me, I'm happy with it being a simple hill for objectives to be fought over.The Cyber Tower is more of an aesthitic piece. Its height is great and it looks fantastic, but its lack of width means it really only affects so much in terms of LOS. Would make an excellent objective or with some extras on top a very Dawn of War: Dark Crusade inspired turret. Count as Vengeance weapons platform?
Now the Cyber Defence Platform, the big questions is: Necron Pylon? Or Necron Sentry Pylon?
Sadly, its somewhere between the two.
To give you an idea, the MDF Cyber Defence Platform is 22cm tall. Accoring to Dinodeampostcat on Librariumonline, the FW Pylon is a wopping 29 cm from base to top. The Sentry Pylon is 15cm high. Meaning the Cyber Platform sits almost in between. So whats to do?
After chatting with some in the group, it can be argued to be used as a traditional Pylon. After all, with true LOS, this means if I can see you, you can see me. And the reduction in height also makes it easier for incoming fliers (the unit it excels at ending) to find a spot to hide behind.
But the decision is yours, and your groups. At a little of 7 quid, what do you think?
Thanks for reading!
R


